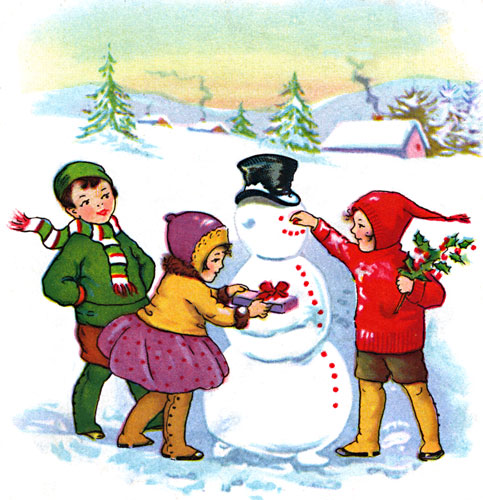
The building of snowmen is a tradition that is often associated with Christmas. This tradition can of course only be carried out in countries that are cold enough to have snow! Historical archives have shown that snowmen were built by the Europeans back in the Middle Ages.
Building a snowman or a family of snowpeople can be a fun activity for the entire family or a group of children.
Instructions
- First off, you need a certain type of snow to successfully build a snowman. The best type of snow to use is what is called “packing” snow. This type of snow is formed when regular “powdered” snow is near its melting point. This makes it moist and easily compactable. Trying to make a snowman out of powdered snow will be very difficult since it will not stick to itself. Note however, that if packing snow refreezes, it will form an unusable denser form of powdered snow called “crust”. Bearing these factors in mind, the best time to build a snowman is normally the warmest afternoon directly following a significant amount of snowfall.
- Decide the overall shape that your snowman will have. In North America and Europe, most snowmen usually consist of three snowballs piled on top of each other. The one at the bottom is the largest and the one at the top is the smallest. These balls represent the head, torso, and lower body. By contrast, in East Asia, snowmen are normally made with just two snowballs on top of each other. Alternatively, a snowman could be made by just compacting snow into a tall mound. If an entire family is participating, it may be fun if each member makes a snowperson of themself!
- Once you have decided on the general shape of the snowman, you can start building it! Large snowballs are best made by rolling small snowballs across snow-covered ground. As they roll, they will pick up more snow and thereby increase in size. If you have chosen to use snowballs piled on top of each other, use extra snow in between the balls to make sure that they won’t fall off!
- Once you have the body of your snowman in place, you can start accessorizing it! You can give it a face using, for example, a row of stones for a mouth, a carrot for a nose, and stones for eyes. You can use twigs or broomsticks as arms and a row of buttons to represent a coat. You can even dress you snowman up with a hat, scarf, and coat! To keep your snowman extra warm and to give him something to do, consider giving him a smoking pipe! If your snowman is in a public place, it may be wise to use natural, biodegradable objects (eg., acorns, holly, stones, twigs, nuts, fruit, vegetables, etc.) to decorate your snowman. Doing this means that there won’t be any litter left around once the snowman has melted. Also, remember that valuable items on snowmen in public places may be stolen.
If you need extra help, you can even buy snowman building kits that help you make and decorate perfect snowmen!


